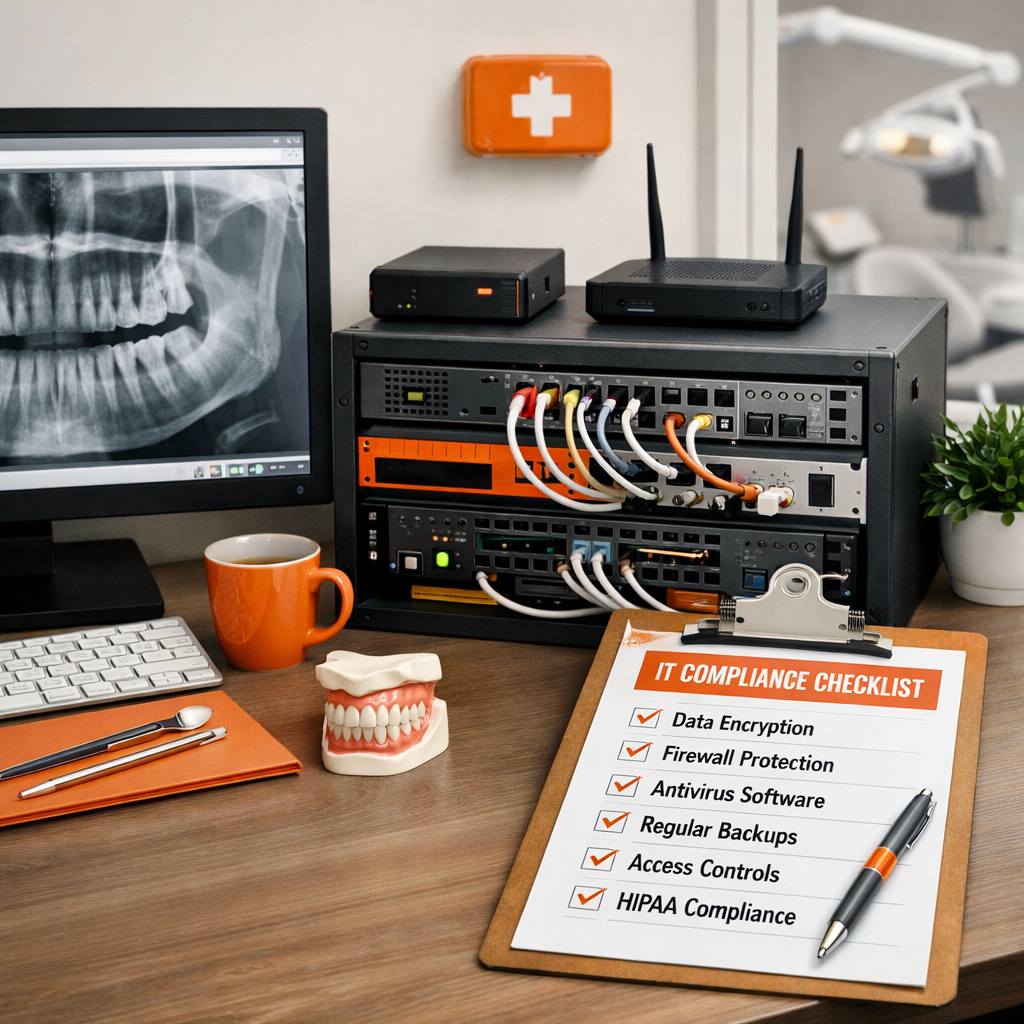
Dental offices in Salinas keep patient records, billing data, and imaging files all in one place. One breach can shut down appointments, lose revenue, and damage trust. This guide walks you through a complete IT security audit, from checking your current setup to keeping your practice safe day after day.
Follow the steps, use the tips, and you’ll have a clear path to HIPAA‑compliant security that protects patients and keeps your practice running.
Step 1: Assess Your Current IT Environment
Start with a simple inventory. List every computer, server, printer, scanner, and mobile device that touches patient data. Write down the operating system, installed software, and how each device connects to the network. A spreadsheet works, but a dedicated asset‑tracking tool can automate alerts when new hardware appears.
For a comprehensive guide on each audit item, refer to our IT Security Audit Checklist, which outlines the essential steps for SMBs.
Next, map the flow of data. Where does the practice management software store records? Does it sync to the cloud? How do imaging devices send files to the server? Sketch a diagram on a whiteboard or use a free diagram app. Seeing the connections helps you spot single points of failure.
Check your internet connection. Measure upload and download speeds during peak office hours. Slow bandwidth can cause time‑outs that look like a security issue. Record the ISP name, contract terms, and any backup lines you have.
Once you have the inventory, compare it to the services you pay for. Are you paying for a cloud backup you never use? Are any devices still running unsupported operating systems? Those are low‑hanging fruit for risk reduction.
Finally, run a quick health check on each device: verify that antivirus is up‑to‑date, that patches have been applied in the last month, and that disk encryption is enabled. Document any gaps and assign an owner to fix them.
Step 2: Identify HIPAA and Local Compliance Gaps
HIPAA isn’t just a checklist; it’s a set of rules that cover administrative, physical, and technical safeguards. Start by reviewing the NIST Cybersecurity Framework as a baseline. Map each of the five core functions, Identify, Protect, Detect, Respond, Recover, to the ways your practice handles patient data.
Administrative safeguards include policies for access control, employee training, and incident response. Do you have a documented breach‑notification plan that meets the 60‑day rule? If not, draft a short one now and store it in a shared, encrypted folder.
Physical safeguards cover the office space. Are workstations locked when unattended? Are servers in a locked closet with fire‑suppression equipment? Check that any portable media (USB drives, external hard drives) are encrypted and logged when moved.
Technical safeguards are where most gaps appear. Verify that all ePHI (electronic protected health information) is encrypted at rest and in transit. Use TLS 1.2 or higher for any web‑based portals. Ensure multi‑factor authentication (MFA) protects remote access to the EHR.
Local regulations in Monterey Bay may add requirements around data disposal or breach reporting. Check the California Department of Public Health website for any state‑specific mandates.
After you’ve mapped the standards, run a gap analysis. List each requirement, note whether you meet it, and assign a risk rating (high, medium, low). High‑risk gaps should be tackled first.
Document everything in a compliance workbook. Include screenshots of settings, policy documents, and dates of the last review. This workbook becomes your audit‑ready evidence when regulators knock.
Step 3: Run a Vulnerability Scan
With inventory and compliance gaps in hand, it’s time to see what attackers could exploit. A vulnerability scanner probes each device for missing patches, weak passwords, and open ports. Choose a scanner that supports Windows, macOS, and the imaging equipment you use.
Before you start, back up all critical data. A scan can sometimes cause a service to restart, and you don’t want to lose patient records mid‑scan.
Run the scan during off‑hours. Most scanners let you schedule a run at night and email you a report in the morning. Review the report line by line: each finding will have a severity rating and a recommended fix.
Key things to look for:
- Out‑of‑date operating systems on workstations or servers.
- Default admin passwords on routers, switches, or imaging devices.
- Unencrypted FTP services that could expose patient images.
- Missing security patches on third‑party dental software.
When you see a high‑severity finding, assign it to a staff member and set a deadline. Low‑severity items can be bundled into a quarterly maintenance window.
After fixing the issues, re‑run the scan to confirm they’re resolved. A clean report shows you’ve reduced the attack surface dramatically.
Step 4: Review Findings & Compare Security Solutions
Now you have three pieces of data: the inventory, the compliance gap list, and the vulnerability scan report. Bring them together in a single spreadsheet. Create columns for asset, risk rating, required fix, and solution option.
When you look at the high‑risk items, you’ll see patterns. Many dental practices rely on basic antivirus that only catches known signatures. As TechCentral’s research shows, half of breaches start with compromised credentials, and traditional AV misses those attacks.
Consider a managed detection and response (MDR) service that combines network‑level AI monitoring with endpoint protection. Solutions like Adlumin MDR paired with SentinelOne give you 24/7 threat hunting, automated isolation of infected machines, and HIPAA‑ready reporting.
Build a comparison table that weighs cost, coverage, and ease of integration with your dental software. Below is an example layout you can copy.
Look for a partner that can manage the whole stack, not just one piece. That’s where a local provider like SRS Networks shines, its team knows dental workflows and can set up the tools without a long onboarding phase.
After you pick a solution, create an implementation roadmap with milestones: pilot test, full rollout, staff training, and post‑deployment review.
Step 5: Implement Recommended Security Controls
With a solution selected, it’s time to put the controls in place. Start with the network perimeter: update firewalls, close unused ports, and enforce strong password policies on all equipment.
Next, enable encryption on every device that stores ePHI. For Windows machines, turn on BitLocker; for macOS, enable FileVault. Verify that backups are encrypted both at rest and in transit to the off‑site storage location.
Deploy multi‑factor authentication for any remote access to the EHR or billing system. Most cloud‑based dental platforms have built‑in MFA options, turn them on and require a hardware token or authenticator app.
Install the endpoint protection you chose in Step 4. Configure the policies to block unknown executables, quarantine suspicious files, and automatically roll back changes when an attack is detected.
Finally, set up a central logging and alerting system. A simple SIEM (Security Information and Event Management) can aggregate logs from firewalls, servers, and endpoints. Define alerts for failed login attempts, large file transfers, or changes to privileged accounts.
Run a test breach simulation. Have a member of your team trigger a fake phishing email and see how quickly the alert reaches your security dashboard. Adjust the response playbook based on what you learn.
Step 6: Train Staff & Establish Policies
Technology is only as good as the people using it. Build a short, jargon‑free training program for everyone in the office. Focus on three topics: phishing recognition, password hygiene, and reporting incidents.
Use the free courses from MyLA Training that are built for dental teams. The modules cover privacy, ransomware, and AI safety without overwhelming tech terms.
Schedule a 15‑minute session each month. Show real examples of phishing emails, highlight the suspicious link, the mismatched sender address, and the urgent language. Follow up with a quick quiz to reinforce the lesson.
Create clear policies that define who can access what data. Use role‑based access so a receptionist can’t view clinical notes, and a hygienist can’t change billing settings. Document the policies in a shared folder and require an annual acknowledgment from each employee.
Assign a privacy officer, often the office manager, who owns the compliance program. That person will review audit logs each month, track policy exceptions, and lead the incident‑response drills.
When a breach does occur, the response plan should include:
- Immediate isolation of affected systems.
- Notification to the privacy officer and the IT partner.
- Documentation of what data was accessed.
- Notification to patients within 60 days (HIPAA rule).
Practice the plan twice a year with a tabletop exercise. The goal is muscle memory, not a full‑blown simulation.
Step 7: Set Up Ongoing Monitoring & Maintenance
Security isn’t a one‑time project. Set up continuous monitoring that gives you a live view of your practice’s security health. A mobile audit app like GoAudits lets you run standardized checks on any device and instantly generate a PDF report.
Configure the app with a checklist that covers network uptime, backup success, MFA status, and patch levels. Assign each check to a team member and set due dates. The app will send reminders and flag overdue items.
Integrate the audit results with your SIEM so that any failed check creates an alert. For example, if a backup didn’t finish, the SIEM can open a ticket for the IT team to investigate.
Schedule quarterly reviews of the audit dashboard. Look for trends, maybe a certain workstation repeatedly fails patch checks, indicating a deeper issue. Use the data to prioritize upgrades.
Keep documentation up to date. Every change to a firewall rule, a new software version, or a policy amendment should be logged with a date and owner. This audit trail is vital if a regulator asks for proof of compliance.
Finally, plan for annual third‑party assessments. An external audit can validate your internal controls and give you a fresh set of eyes on emerging threats.
FAQ
How often should I run a vulnerability scan on my dental practice?
Run a full scan at least once a month and a quick credential‑check weekly. Monthly scans catch missed patches and configuration drift, while weekly checks keep an eye on new devices or software updates that could open a gap. If you add new equipment, scan immediately after installation.
What’s the best way to encrypt patient data on local workstations?
Enable built‑in full‑disk encryption: BitLocker for Windows or FileVault for macOS. Make sure the encryption key is stored securely, preferably in a hardware security module or a cloud‑based key vault that meets HIPAA standards. Test the decryption process on a spare machine to confirm you can recover data if needed.
Can I rely on a free antivirus solution for my practice?
Free tools provide basic protection but lack advanced threat hunting, behavior analysis, and centralized management. For a dental office that handles sensitive health data, a managed security service offers continuous monitoring, automatic patching, and compliance‑ready reporting, features that free tools simply don’t deliver.
How do I create a breach‑notification plan that meets HIPAA requirements?
Start with a template that lists the steps: detection, containment, assessment, notification, and remediation. Assign roles, who calls the privacy officer, who contacts the IT partner, and who drafts the patient notice. Include a timeline (within 60 days) and a sample notice text. Review the plan quarterly and run a tabletop drill to ensure everyone knows their part.
What should I do if a staff member clicks a phishing link?
Immediately isolate the affected workstation from the network. Run a full malware scan, change the user’s password, and review recent logins for suspicious activity. Document the incident, notify the privacy officer, and add the scenario to your next training session so the whole team learns from the mistake.
How can I ensure backups are both secure and recoverable?
Use encrypted, off‑site storage that complies with HIPAA. Test the restore process quarterly by retrieving a random patient file and confirming it opens correctly in the EHR. Keep at least three backup copies: one local, one off‑site, and one immutable copy that cannot be altered by ransomware.
Keeping a dental practice safe in Salinas takes a mix of technology, people, and process. Start with a clear inventory, map compliance gaps, scan for vulnerabilities, choose the right security stack, train your team, and set up continuous monitoring. By following these steps, you’ll reduce risk, meet HIPAA, and protect the trust patients place in you every day.
If you’re ready for a hands‑on partner who knows dental workflows and can handle the technical details, reach out to SRS Networks for a consultation. Their local presence and 24/7 managed support make the audit feel like a regular health check, one that keeps your practice thriving.